Skype Desktop App gets 'Noise Cancelation': How to activate during calls
This feature can be found under the ‘Settings’ option and can be toggled with different options - Auto, Low and High. But the real question is - How to activate it?
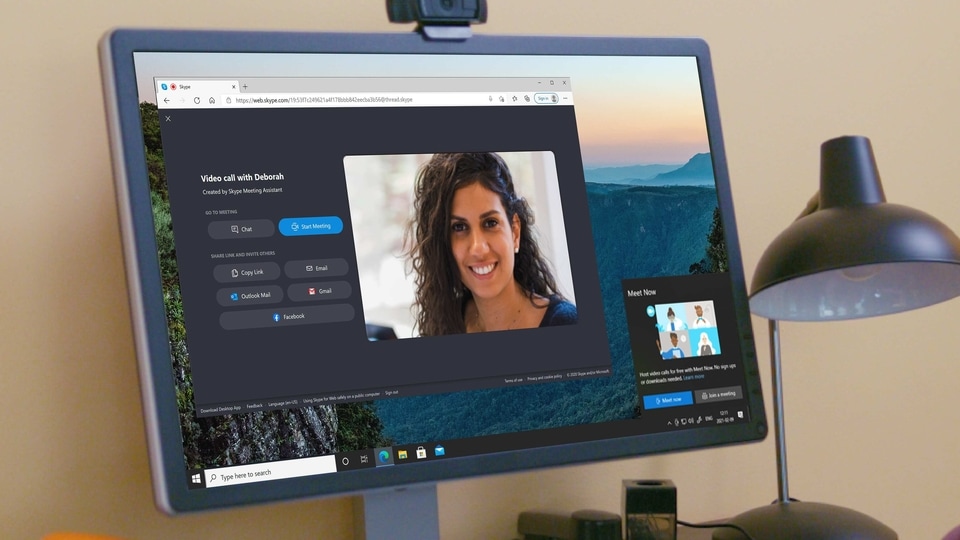
Microsoft has just unveiled a key feature in its Skype desktop app on Windows and Mac machines - AI-enabled Noise Cancellation. This feature, which was originally made for Microsoft Teams, is yet to arrive on mobile and web version. This feature can be found under the ‘Settings' option and can be toggled with different options - Auto, Low and High. But the real question is - How to activate it?
That's what we are here for. These are the few steps you need to take to get things done.
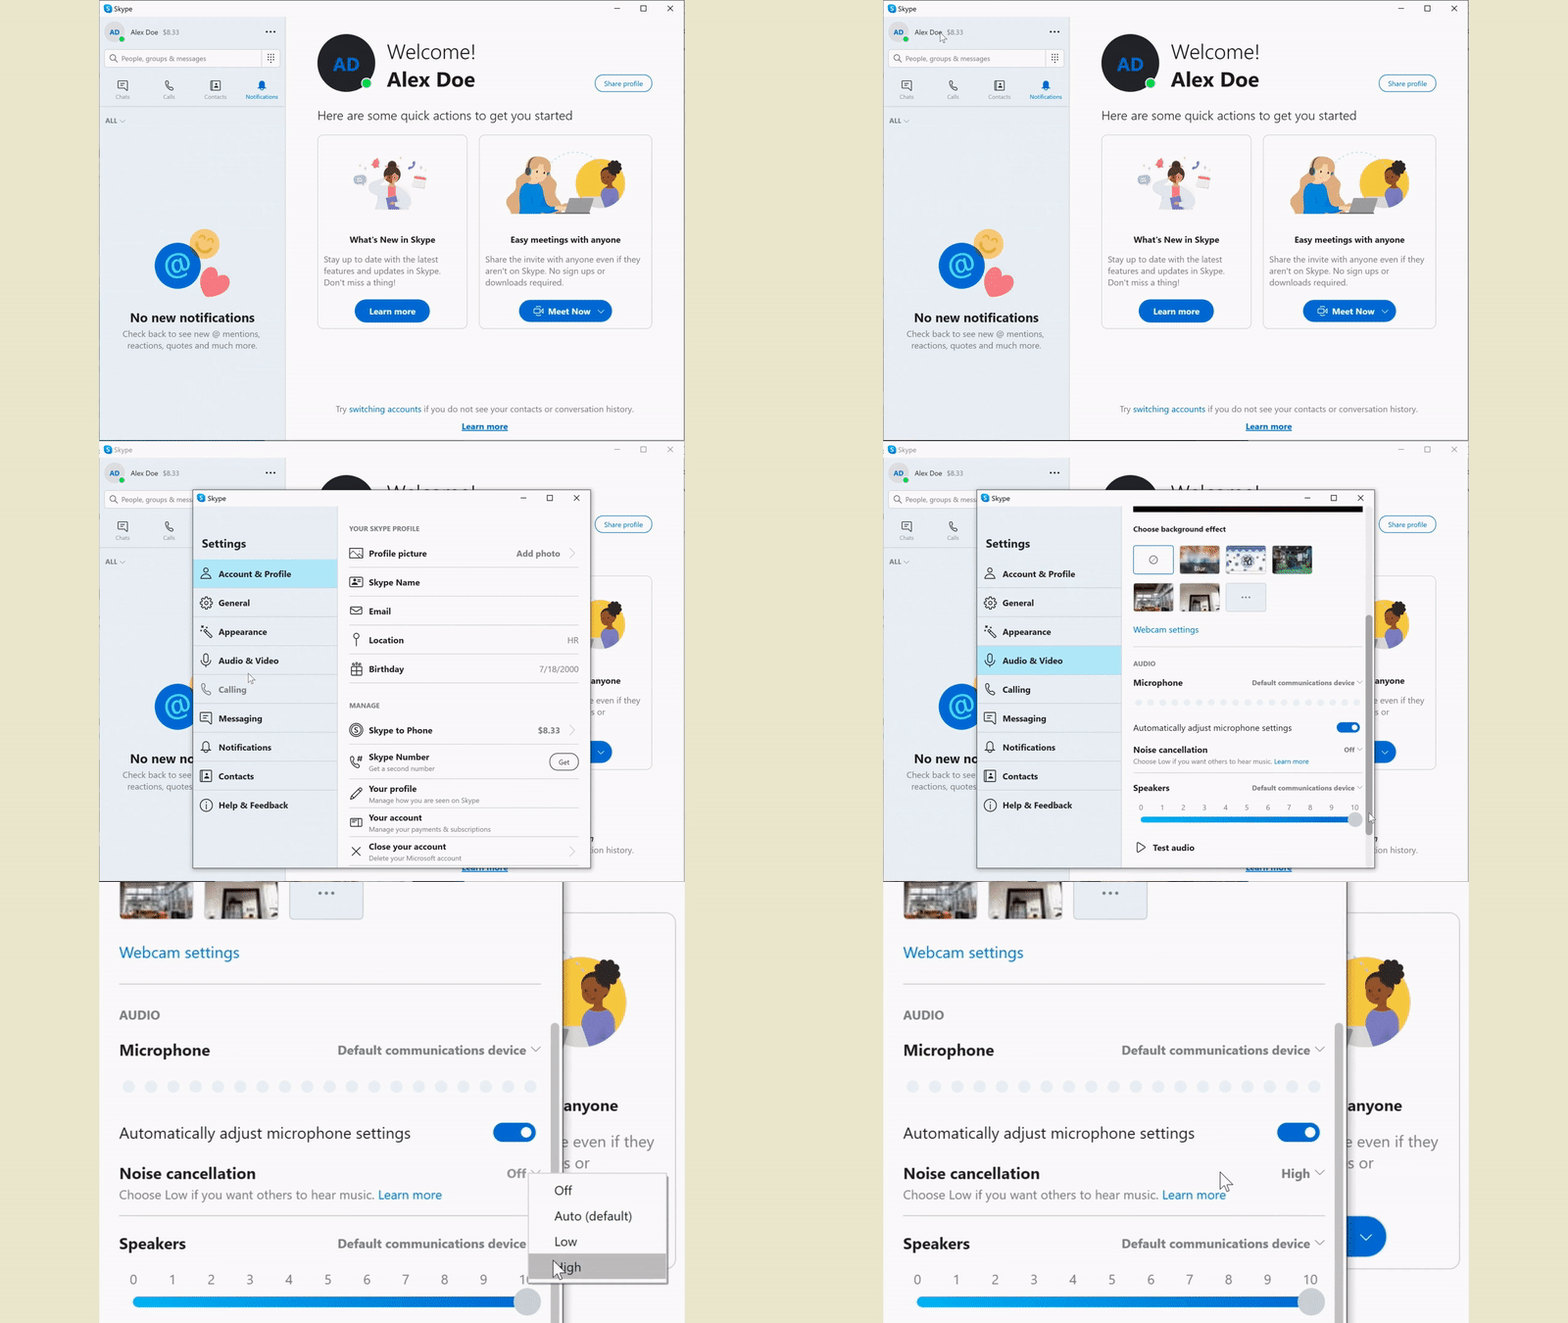
Step 1: Select your profile picture at the top left corner.
Step 2: In the drop down menu, select ‘Settings'.
Step 3: Click on ‘Audio & Video' option.
Step 4: Scroll down to the ‘Audio' tab.
Step 5: Besides the ‘Noise Cancellation' option you can see the ‘Off' option. Click it, and select from Auto, Low or High. That's it.

As explained by Microsoft, the new noise cancellation tech works by analysing your audio feed and using trained deep neural networks to remove the noise without affecting the speaker's voice. This is different as traditional noise suppression algorithms can address simple, consistent noises like that of a fan, it cannot differentiate when it comes to more complex noises like typing on the keyboard, crunch of a food wrapper or when your pet dog is howling.
To achieve this level of tech, the team used approximately 760 hours of clean speech data and 180 hours of noise data in their datasets for training. For noise data, they included 150 noise types to cover the diverse scenarios including keyboard typing, running water, snoring and more.
Catch all the Latest Tech News, Mobile News, Laptop News, Gaming news, Wearables News , How To News, also keep up with us on Whatsapp channel,Twitter, Facebook, Google News, and Instagram. For our latest videos, subscribe to our YouTube channel.


