iPhone tips and tricks: Catch stunning light trail pictures with secret camera feature on iPhone 14, iPhone 13
iPhone tips and tricks: Your iPhone actually lets you capture professional-level light trail photos with one secret iPhone 13, iPhone 14 feature that you may not be aware of. Check it out.
_1650462295122.png)
_1632405892414_1632405909018.jpg)
 View all Images
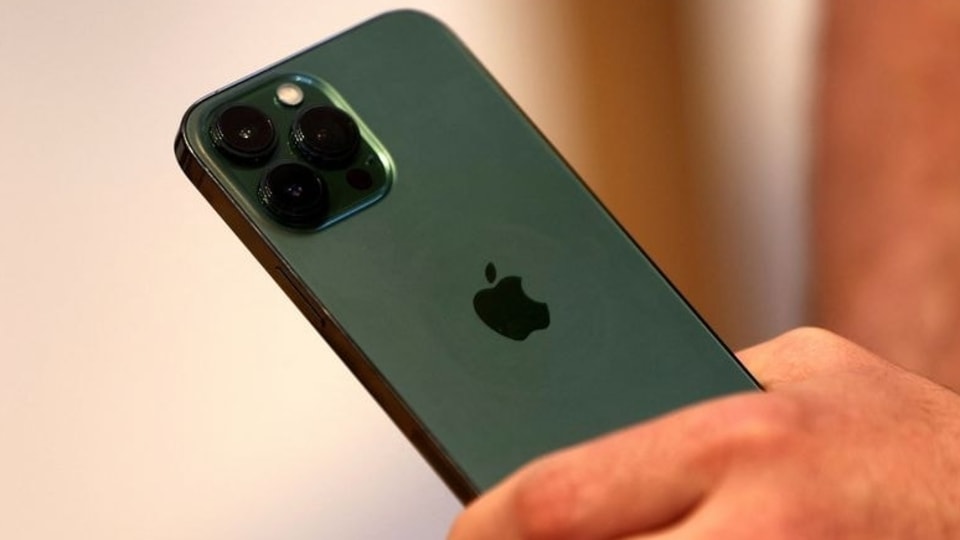
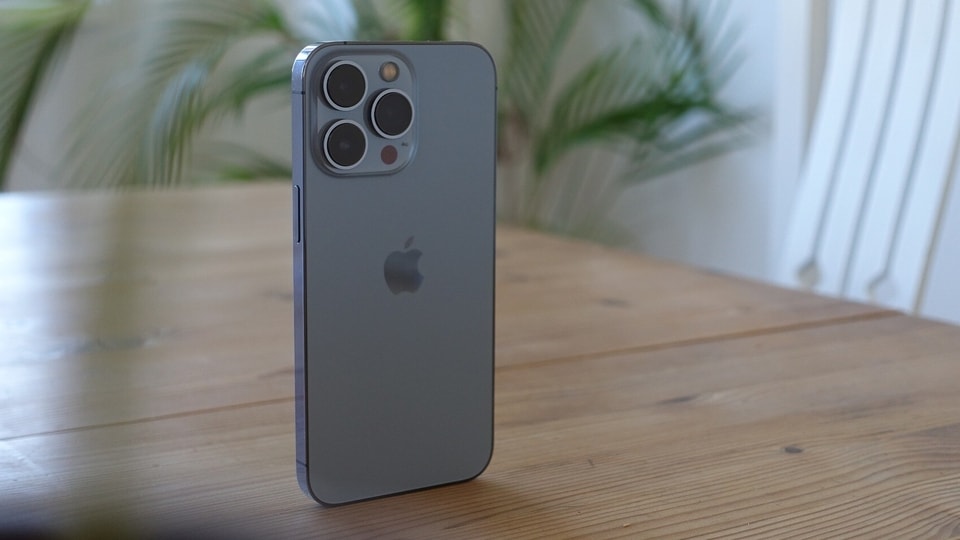
iPhone tips and tricks: We have all seen those photos of a road at night with moving cars, where you can only see the light trails in vivid red, yellow, and white colours. Those fascinating shots are called light trail photos and they are incredibly difficult to take. Usually, they require a DSLR (Digital Single-Lens Reflex) camera which can slow down the shutter speed to allow you to capture those mesmerizing images. However, if you own an iPhone - iPhone 14, iPhone 13, iPhone 12, iPhone 11, iPhone SE 3 - you can easily create these shots using a secret camera feature in your phone. Check it out.
iPhone light trails photos
If you are unaware of light trail photography, it is a type of long-exposure photography that highlights the movement of light. To take such photos, you need to reduce the shutter speed of the camera to allow more light and information to reach the lens. The end result is those stunning photos where you see moving light beams all across the photograph.
But there is only one issue in using an iPhone for such shots. You cannot control the shutter speed on the iPhone. But the iPhone comes with a powerful image processing system that solves hardware problems using the software. In case you did not know, the iPhone also has a long-exposure mode in the camera settings. Although it does not slow down the shutter speed, it captures similar shots by creating blur and mimicking the effect.
While the quality of the shot may not be comparable to an actual DSLR camera, under the right circumstances, it can take some pretty decent shots which you can flaunt on social media or show it off to your friends. But the setting itself can be tricky to find. And to help you with the process, just follow the steps given below.
How to take long-exposure photos on iPhone
1. Open the Camera app and turn on Live Photos.
2. Find your perfect frame and click a photo.
3. Open the image in the Photos app.
4. Tap on the Live Photo and once it is opened, tap the Live Photo dropdown menu.
5. Select Long Exposure.
6. And done. Now you can see the professional quality effect right on your iPhone.
Catch all the Latest Tech News, Mobile News, Laptop News, Gaming news, Wearables News , How To News, also keep up with us on Whatsapp channel,Twitter, Facebook, Google News, and Instagram. For our latest videos, subscribe to our YouTube channel.


