Gmail Tips and Tricks: Here is how to organise your Gmail inbox
Use these Gmail tips to organise your email inbox.
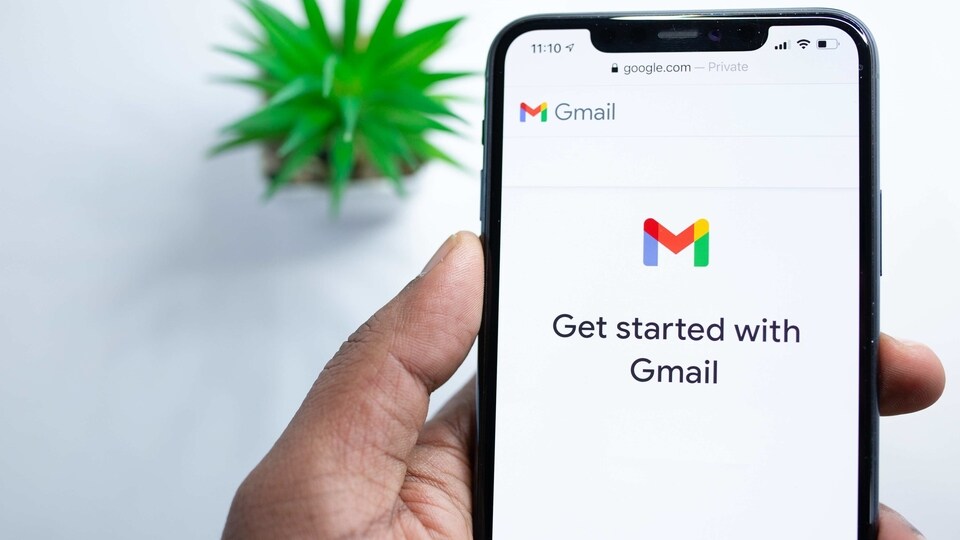
Does your Gmail inbox look flooded with a variety of emails? Chaos all around that prevents you from working or focusing on what is important? Do you find difficulty in sorting the emails from your office, promotional and your personal ones? All your problems dealing with your Gmail inbox can end with a bit of effort. Actually, Google itself provides you with Gmail tips and tricks to keep your inbox mess-free. Here we have listed a few to help you sort your email.
Let's start with the basic Gmail Inbox Layout
You must have seen it or must be doing, in which Gmail allows you to modify the look of your inbox. The default layout of the tabbed inboxes can be categorised into three layouts that prioritise different types of emails on the basis of "important," "unread," and "starred". Additionally, you get a priority inbox layout that prioritises mail by importance. To apply:
1. Click the Inbox tab in the Settings menu.
2. Select the type of inbox you want from the pull-down selection under the "Inbox” tab.
Gmail colour code labels
Labels can help you organise your Gmail messages by sorting and categorising them. Fortunately, you can colour-code some or all of your labels to make your emails more visually organised and appealing. To do so:
1. Go to the left column and hover your cursor over a label you want to colour-code
2. When you see a small downward-pointing arrow appear, click on it
3. A new menu will pop up. Hover your mouse over 'Label colours', this will again open a new menu that has a variety of preset label colour schemes along with text and highlight colours, as well as the ability to add custom colours and remove colours.
Gmail Filters
Filters can do much more than simply sorting your emails into categories. The magic of the filter is that while creating a filter that searches your inbox for the phrase 'unsubscribe' will automatically send those emails to your junk folder. Such as the newsletters that you have not subscribed to. Similarly, using a' tracking number' filter will provide you with all the emails about all the purchases.
Here's how to apply Filters:
Catch all the Latest Tech News, Mobile News, Laptop News, Gaming news, Wearables News , How To News, also keep up with us on Whatsapp channel,Twitter, Facebook, Google News, and Instagram. For our latest videos, subscribe to our YouTube channel.


