Now scan documents with your Apple iPhone Notes App! Here’s how
Apple iPhone users can scan the documents in their Notes App. Here's a step-by-step guide.
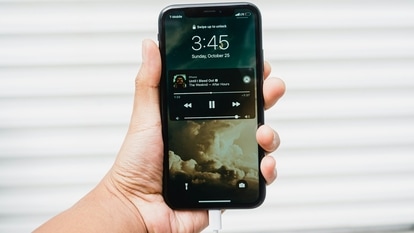
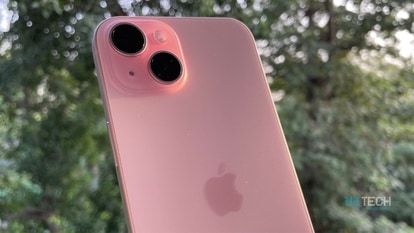
Apple's iPhone or iPad carries a number of features that can make your life simple. In a bunch of such features, there is an option to keep your documents handy in one place. With the iPhone Notes app on iOS, you can scan all the documents and keep them safe within the Notes App. It stores your typed notes and written or printed documents within the same app instead of using two separate apps for different purposes.
The Notes app allows users to scan documents and make the necessary changes if required such as rotate, crop, or apply filters according to the document type, such as colour filter or Black & White filter. Once you are done, it will give you the option to save the document in PDF or image format. You can store it in your phone's memory or even online such as the iCloud Drive or Google Drive.
While, the new Notes app technically scans documents, but it lacks optical character recognition, like other document-scanning iOS apps. Scanning a business card only results in a cropped image of the card. Other apps, such as Finescanner and Scanbot, can recognise characters and allow you to edit with the text that results, but they require in-app purchases to access the optical character recognition features. However, Apple's Notes app meets all of the basic scanning requirements, from making notes to images, weblinks, scanned documents, handwritten notes, or even sketches. So, to use your Apple's Notes app, here's the step-by-step guide for you.
How to scan documents with iPhone Notes app
Catch all the Latest Tech News, Mobile News, Laptop News, Gaming news, Wearables News , How To News, also keep up with us on Whatsapp channel,Twitter, Facebook, Google News, and Instagram. For our latest videos, subscribe to our YouTube channel.


