How to fix 'Snipping Tool not loading' error on Windows 11
If your Windows 11 is facing issues, then here's how to fix 'Snipping Tool not loading' error.
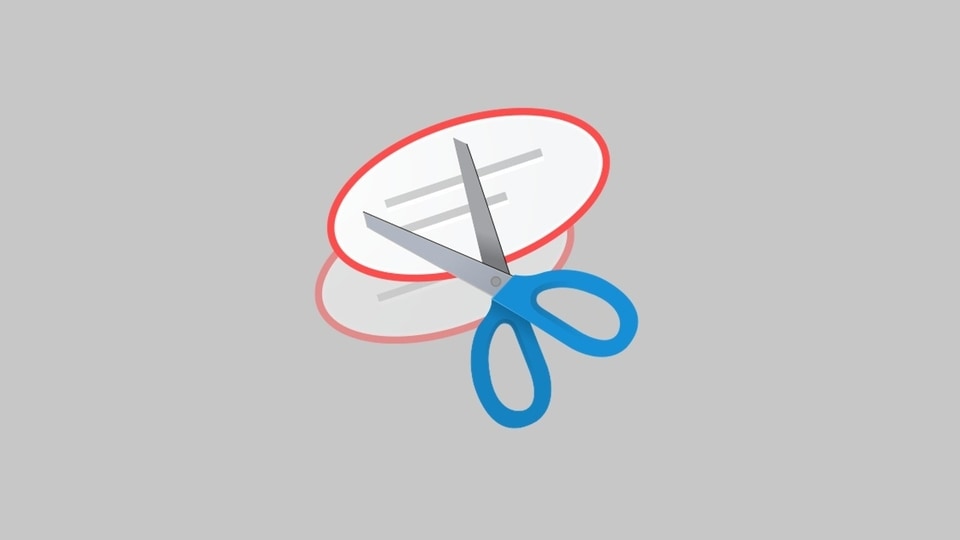
Windows 11 update was released by Microsoft last month, bringing important changes and upgrades to various aspects of the company's popular desktop operating system. Apart from visual enhancements, many improvements under the hood have made Windows 11 an important upgrade for those with compatible desktop and laptop computers. As is the case with all newly released software, Windows 11 still has a handful of bugs and the latest one that has come up short is the Snipping Tool. So, if your Microsoft Windows 11 is facing issues, then we show you how to fix 'Snipping Tool not loading' error.
Windows users will be aware that the Snipping Tool enables the taking of screenshots and make quick edits before sharing them. It comes installed with Microsoft Windows 11. However, like every native Windows application, it can sometimes suffer from glitches and hiccups, and refuse to open or even suddenly crash when taking a screenshot. If you want to resolve this Snipping Tool issue, here are the steps you need to follow.
Also read: Looking for a smartphone? Check Mobile Finder here.
How to fix 'Snipping Tool not loading' error:
Grant background apps permissions
* Click on the Start Menu button
* Go to Settings (or press Win Key + i)
* Click on the Apps tab to the left.
* Click on Apps & features
* Scroll down till you find Snipping Tool.
* Click the three-dot menu
* Click on Advanced options
* Click “Always” under the Background App Permissions setting
* Restart your PC or laptop.
Restart the Snipping Tool
* Press Ctrl+Shift+Esc to open the Windows 11 Task Manager
* Search the Process tab for Snipping Tool.
* Right-click the entry
* Click on the ‘End task' option
* Try to load the app again.
If there was a temporary glitch with the Snipping Tool, restarting the app might help get rid of it.
Repair or reset the app
* Click on the Start menu
* Search for Snipping Tool
* Right-click entry
* Select App settings
* Choose Repair to fix the app without losing your data and settings.
* If this doesn't work, you will have to try and reset the app using the button under Repair, but this setting will erase your Snipping Tool data including settings.
Other fixes for Snipping Tool
* Run the Windows Troubleshooters in the settings app
* Disable Focus assist
* Run the sfc /scannow command in the command prompt to check for corrupted and damaged files
* Also, try to launch the app with the built-in keyboard shortcut.
These are all quick and easy fixes to get the useful Snipping Tool working again. If none of these work, users can contact Microsoft support for additional options.
Catch all the Latest Tech News, Mobile News, Laptop News, Gaming news, Wearables News , How To News, also keep up with us on Whatsapp channel,Twitter, Facebook, Google News, and Instagram. For our latest videos, subscribe to our YouTube channel.


