Tired of busy servers while making payments? Know how to create multiple UPI IDs in Google Pay
If you make multiple digital payments a day and face issues with busy servers, then here is an easy solution. Check how to create multiple UPI IDs in Google Pay and enjoy seamless transactions every time.

How to create multiple UPI IDs in Google Pay: UPI (Unified Payments Interface) payment is one of India's most popular methods of payment and the usage of UPI as a payment channel has grown exponentially over the last few years. Due to the pandemic, people have majorly switched to contactless payments, giving UPI a further boost. The latest data released by the National Payments Corporation of India (NPCI) also reiterates how UPI has emerged as the single largest retail payment platform in the country in terms of transaction volume. However, issues like busy servers have been a huge pain point among consumers. If you suffer from the same, then check out how to beat this problem with an innovative solution.
Whether it's for online shopping, movie reservations, restaurant ordering, train tickets, or an action as simple as a bank transfer, the majority of consumers in India choose to utilize UPI and digital wallets to make convenient, hassle-free, and speedy payments.
How to create multiple UPI IDs in Google Pay
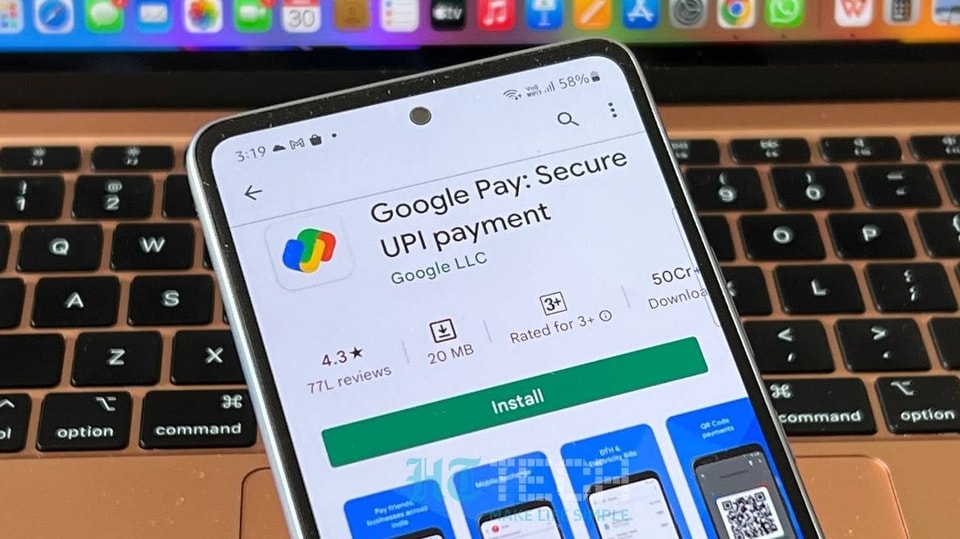
Google Pay has quickly become one of the most popular UPI apps for online payments in the country. It's a user-friendly app that runs smoothly on both Android and iPhone devices. Without paying any fee, one can make payments at local shops, stores, or any retailer that accepts UPI payments using a universal QR code by scanning the QR code quickly and entering the UPI pin.
Multiple UPI IDs are helpful in situations when there is high traffic on the UPI networks. A user can add up to 4 UPI IDs for their bank account and can also have multiple UPI IDs for the same bank account.
Here's a step-by-step guide for creating an additional UPI ID in Google Pay.
Create multiple UPI IDs in Google Pay
Open the Google Pay app on your android or iOS device
Click on the photo at the top right corner of the screen and choose payment methods
Now select the bank account you want to add for the new UPI ID.
Next pick ‘Manage UPI IDs’ from the drop-down menu.
Now to create the additional UPI ID, tap on the ‘+’ icon next to the one you want to create.
You can select the UPI ID that you want to select for payment methods under the ‘Choose an account to pay with’ option to make payments.
Do note, when you tap Add now, Google Pay sends an SMS on your behalf to create an additional UPI ID. Your standard SMS charges will apply.
Catch all the Latest Tech News, Mobile News, Laptop News, Gaming news, Wearables News , How To News, also keep up with us on Whatsapp channel,Twitter, Facebook, Google News, and Instagram. For our latest videos, subscribe to our YouTube channel.


