How to create an invitation using iPhone’s new Apple Invites app- Step-by-step guide
Check out the step-by-step guide to build a customised invitation on iPhone’s new Apple Invites.
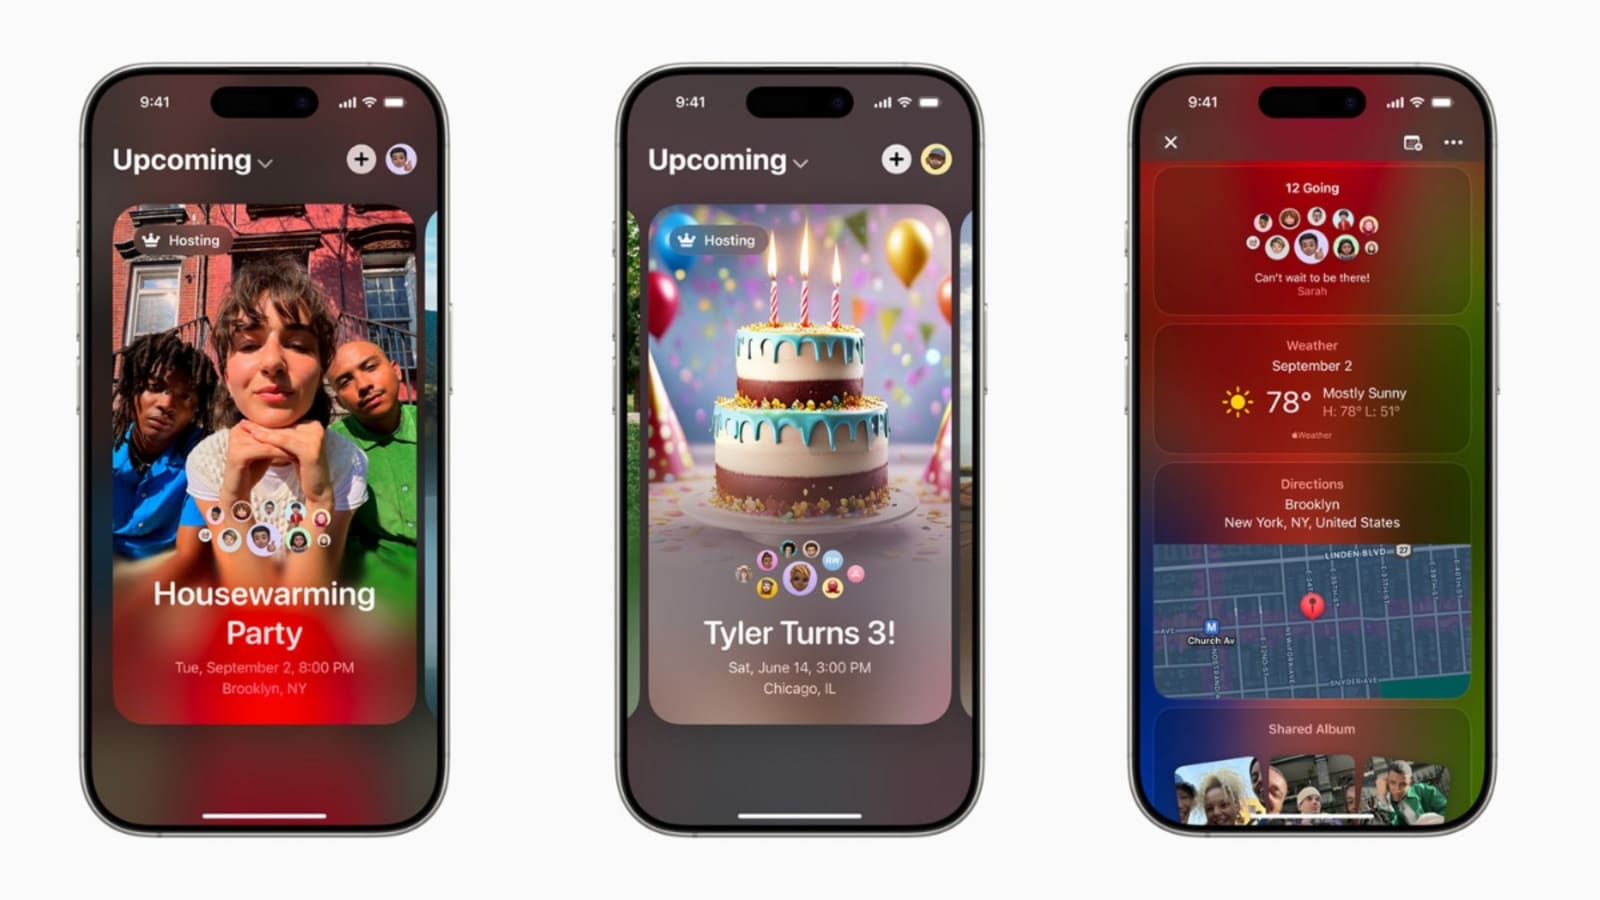
Last week, Apple launched a new iPhone app called “Apple Invites” which allows users to build custom invites for events of all scales. Users can also share invitations to other users including Android users to confirm their RSVP, get access to location, and create shared albums, and playlists. Since its rollout, the app has gained much recognition for providing users with a personalised invitation building platform. Now, iPhone users will not have to rely on third-party apps or editing tools to build invitations. Therefore, know how Apple Invites works and how to create an invite.
Also read: iPhone SE 4, Vivo V50, and more smartphones launching next week (February 2025)
How Apple Invites app works?
The Apple Invites enable users to create and share custom invitations directly from an iPhone or web browser. This invite encourages easy event management by tracking RSVP, event details, locations, expected attendees, shared albums, Apple Music, and other crucial information. The Apple Invites app is compatible with all iPhone models running on iOS 18 versions. Therefore, make sure to download the app via the app store or access it via the web browser. Now, check out the step-by-step guide to build a customised invitation on iPhone's new Apple Invites
Also read: iOS 18.4 beta arriving soon: Know why it is the biggest iPhone update
How to create an invite on the new Apple Invites
Step 1: Open the Apple Invites app on your iPhone or visit the iCloud website.
Step 2: Click on the “Create an Event” button located below in a pill-shaped bar.
Step 3: Now, pick a template from Apple's preset design and customise it with additional background images or using Image Playground.
Step 4: Add the Event Title, date, and time carefully.
Step 5: Add location to the invite via Maps, users can also assign a custom name.
Step 6: Now, create an album so attendees can share images in one place. You can also add a custom playsuit from Apple Music.
Step 7: Now, review the invite and start inviting attendees.
Follow, the above-mentioned steps and make online invitations hassle-free without the requirements of building an invite from scratch from a third-party app like Canva.
One more thing! We are now on WhatsApp Channels! Follow us there so you never miss any updates from the world of technology. To follow the HT Tech channel on WhatsApp, click here to join now!
Catch all the Latest Tech News, Mobile News, Laptop News, Gaming news, Wearables News , How To News, also keep up with us on Whatsapp channel,Twitter, Facebook, Google News, and Instagram. For our latest videos, subscribe to our YouTube channel.


