How to change photo in Aadhaar Card- the A to Z of the process explained
Let us face it. Our Aadhaar card photo is mostly never flattering and almost everyone wants to change it. So, here we show you how to change photo in Aadhaar Card.

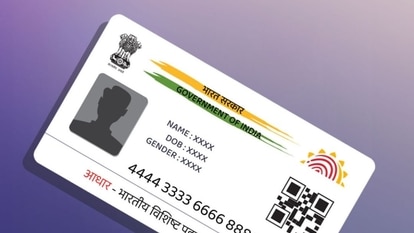
Aadhaar Card is an essential identity document that is required whenever any service needs to be accessed. From accessing government services, opening a bank account to even applying for a job, the Aadhaar card has become a necessity. The 12-digit number is issued by the Unique Identification Authority of India (UIDAI) and it carries all the information of the card-holder, from name, address to biometrics such as your photo, eye scan, and thumbprint.
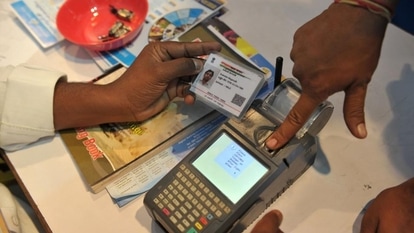
While it's easy to update the demographic details online such as your name, residential address, mobile number, date of birth or age, gender, and email ID. While using the self-Service online mode, you can immediately change your addresses on the portal. Well, all you need to access the portal is your Aadhaar ID and the registered mobile number with it. But for the biometric updates, you need to visit the Aadhaar centre. In fact, to change photo in Aadhaar card, you will have to start the process online and finish it off offline. You need to note that changing your Aadhaar card photo does not require any documentation, though the update process of your biometrics can take up to 90 days. Here, we have provided a step-by-step guide on how to change photo in Aadhaar card.
How to change photo in Aadhaar Card: Step-by-step guide
Go to UIDAI website- https://uidai.gov.in/.
After that, you need to download the Aadhaar Enrollment Form.
Provide all the details asked for in the Form.
Now, you have to go to the Aadhaar Enrollment Center and submit the form.
A new picture will be taken at the center. Hence, you don’t need to submit any other photo to the executive.
Along with the form, you will have to pay Rs. 100 along with GST as the fee.
After the payment, you will receive an acknowledgement slip as well as an Update Request Number (URN), that can help you to track the update of your Aadhaar card. As it will take time to update, you should keep on checking the update.
Catch all the Latest Tech News, Mobile News, Laptop News, Gaming news, Wearables News , How To News, also keep up with us on Whatsapp channel,Twitter, Facebook, Google News, and Instagram. For our latest videos, subscribe to our YouTube channel.