How to use DigiLocker app: Keep ALL documents on your phone at all times
DigiLocker, the government provided cloud service, is a handy tool to keep all your important documents and have them available whenever you need

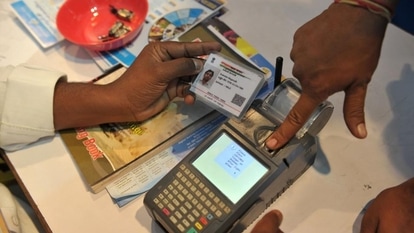
DigiLocker app is an important tool for you to keep your documents in one place. The platform is a cloud service built by the Ministry of Electronics & IT (MeitY) under the Central government's Digital India Initiative. DigiLocker can be used to store digital versions of all government-issued documents. This way, you can always carry all your documents inside your phone and show them whenever necessary. However, many people still do not know how to use DigiLocker or how to upload files in DigiLocker. If you are one of them, read on to find out how to operate DigiLocker.
DigiLocker provides 1GB of cloud space to every user. It has an upper limit of 10MB on an individual file uploaded on the platform. Over the years, the platform has become very popular among users. According to the official website, DigiLocker has 92.28 million registered users and 4.75 billion documents stored.
How to sign up for DigiLocker
If you already have a DigiLocker account, you can skip to the next section. If not, then continue reading. You can use DigiLocker either through the website by clicking the link here or by using the mobile application available on PlayStore and Apple app store. Once you land to the homepage on either the website or app, follow the following steps.
1. Click on the ‘Sign up' icon located at the top right corner of the page.
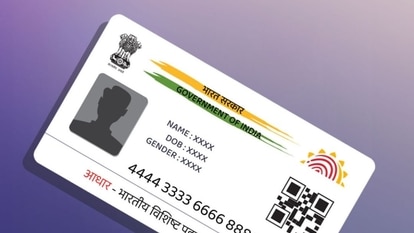
2. Once redirected to the account creation page, enter the following information: Full name (as per Aadhaar), date of birth, mobile number and email ID. Also enter a preferred six-digit security pin. Once all of it is done, press ‘Submit'.
3. You will receive an OTP on your phone. Enter the OTP and click Submit.
4. Now, you need to enter a username. Once done, click Submit and your account is ready to use.
To sign in at a later time, you need either your mobile number or Aadhaar card number and the six-digit security pin code.
The process to upload files to DigiLocker is majorly the same on both website and app. Just make sure to give DigiLocker the access to your files in the app version to be able to upload files. Follow these steps to easily upload files on DigiLocker.
How to upload files to DigiLocker
Once you sign in to the platform, you should be able to see an icon for Upload Documents. On the app it should be on the top left. Click on it.
The next screen will have an icon of ‘Upload’. Click on it.
Select the files you want to upload to DigiLocker and add them by clicking on ‘Open’.
And that’s it. Your documents have been uploaded on DigiLocker. Now you can view them at any time as long as you have internet access.
Catch all the Latest Tech News, Mobile News, Laptop News, Gaming news, Wearables News , How To News, also keep up with us on Whatsapp channel,Twitter, Facebook, Google News, and Instagram. For our latest videos, subscribe to our YouTube channel.