iPhone tricks and tips: Know how to enable Face ID to secure Google Drive
An iPhone gives its users an option to put an extra layer of security by enabling Face ID for Google Drive. Know the iPhone tricks and tips here.

Google Drive is one of the most used cloud storage to save files, data and media. The files saved there are accessible anytime and anywhere. It is also secured and hence, it has a larger number of users. To make it even more secure, iPhone users can get an option to add an extra layer of security by enabling Face ID for Google Drive using the Privacy Screen feature. You can secure your files by using Face ID on your iPhone or iPad. In this way, only you will be able to access all your sensitive files and data.
Here are simple and easy iPhone tricks and tips to add extra layer of security in Google Drive
How to enable privacy screen to use Face ID with Google Drive
You can enable Face ID by using Privacy Screen. This will lock the Google Drive app every time you exit the app.
Here's how you can set up Privacy screen
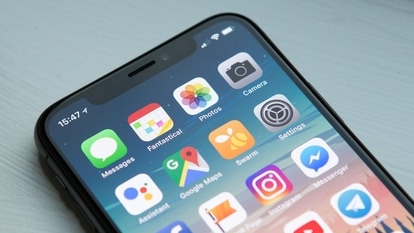
Step 1: First, open the Google Drive app on your iPhone or iPad
Step 2: Next, tap on the menu icon available in the top-left corner of your screen.
Step 3: Now, select Settings and click on Privacy Screen.
Step 4: Toggle Privacy Screen on.
Step 5: Once done, you will be asked to confirm if you want to allow Google Drive to use Face ID.
Step 6: Confirm and you're all set! The Google Drive app will start asking to scan your face every time you open it.
How to change Google's Privacy Screen duration
Once you set up the privacy screen, Google Drive will always ask for a Face ID to access the app by default. This means, even if you accidentally exit the app you'll need to unlock Google Drive with Face ID again, which sometimes can get pretty annoying. To avoid this, you can also set a certain time duration after which you want your Google Drive to get locked automatically.
Know how to set a delay for Privacy Screen:
|
|
|
|
| 10 Minutes |
|
|
Open the Google Drive app and tap the menu icon in the top-left corner of your screen.
Now, select Settings and head to Privacy Screen.
Next, tap Require Authentication and select the delay time for the Privacy Screen.
Once you’re done go back and it’s done!
Catch all the Latest Tech News, Mobile News, Laptop News, Gaming news, Wearables News , How To News, also keep up with us on Whatsapp channel,Twitter, Facebook, Google News, and Instagram. For our latest videos, subscribe to our YouTube channel.