Upgrading to macOS 11 without enough free disk space causes data loss: Report
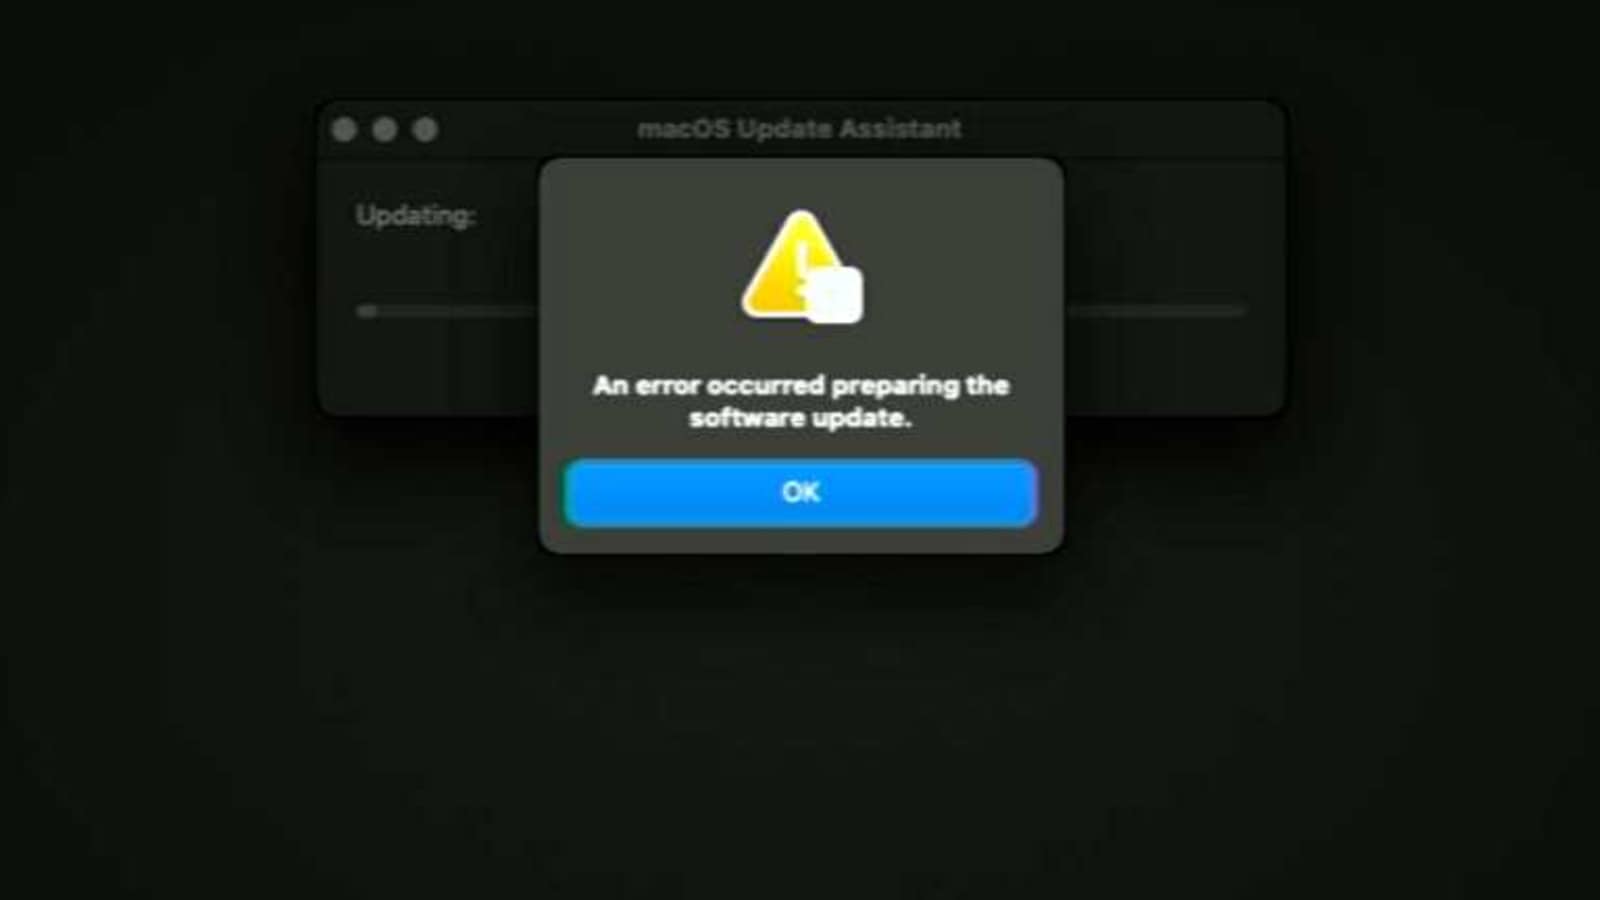
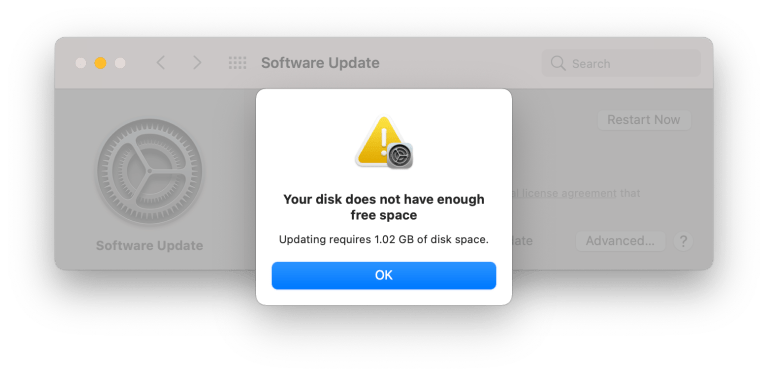
According to a new report, upgrading from a previous macOS version to Big Sur without the minimum required storage space can cause your computer to stop booting and lose your data.

Apple rolled out macOS version 11 “Big Sur” last year, with several software additions and design improvements over macOS 10.5 “Catalina”. The most important change this year was official support for Apple's new ARM64 Macs. While Apple has provided regular updates to its hardware since then, one major bug relating to upgrades still persists - one that could result in loss of data.
According to a post on the site Mr. Macintosh, upgrading your Mac to the latest operating system version without enough free disk space could prove disastrous. The site quotes Apple's support page that states you need 35.5 GB of storage space free on your Mac when upgrading from macOS Sierra or later. If you are on a previous release, you will need even more space - at least 44.5 GB of free storage.


After a great deal of investigation into the issue, the site found that the issue was occurring because the macOS Big Sur installer would begin the installation process without first checking if there was enough space left on the disk. Not only does the upgrade process inevitably fail, but your data on the disk can also get corrupted forever.
Also read: MacOS 11.3 will make your iPad apps look better on your MacBook
It's also worth noting that you will only be affected by the bug if you are on macOS 10.5 (Catalina) and attempt to upgrade to macOS 11.2 or 11.3 beta. Updating between macOS 11 versions does not trigger the issue, the site says. Once affected by the bug, your only hope of recovering your data is if you previously took a backup
If your Mac was encrypted when you ‘bricked' it, you will have to connect it to another Mac with one of the following: USB-C to USB-C 3.0 Cable, USB-C to USB-A or a ThunderBolt 3 Cable. Then you have to target your broken Mac in Target Disk Mode, mount the disk and enter your encryption password, mount the volumes and navigate to your home folder and clear enough space to finish the upgrade.
Read more: Ever wished Apple iPads to run macOS? YouTuber makes it a reality
If you don't have FileVault enabled, just use the terminal.app in the macOS recovery and a USB drive and external drive and delete the files from the external Mac desktop. You can also use a second Mac to use Target Disk Mode to mount the problematic Mac and remove the files to make space - no encryption in the way in this case.
Catch all the Latest Tech News, Mobile News, Laptop News, Gaming news, Wearables News , How To News, also keep up with us on Whatsapp channel,Twitter, Facebook, Google News, and Instagram. For our latest videos, subscribe to our YouTube channel.


