How to disable Bixby on your Samsung devices
Bixby is Samsung’s voice assistant that was made to take on the likes of Alexa and Siri.
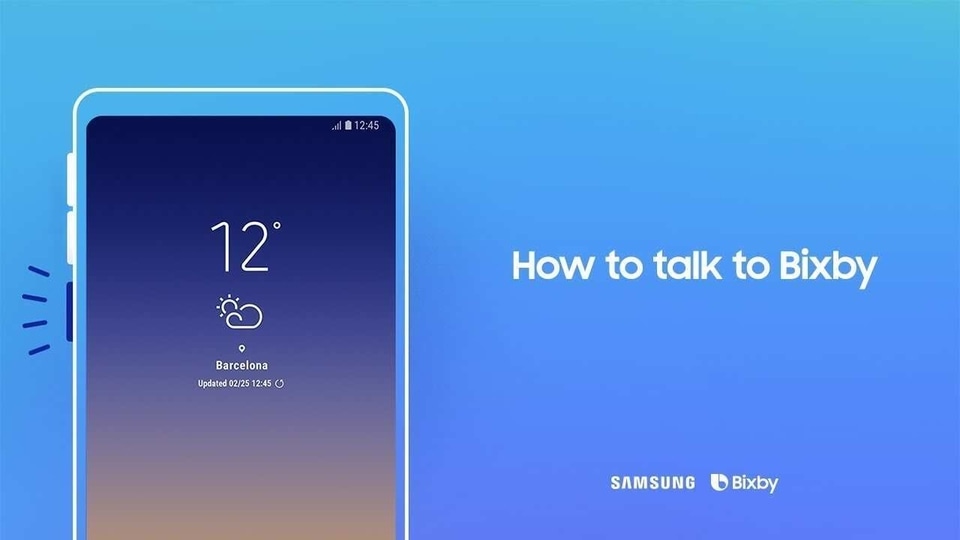
Samsung created Bixby, its voice assistant, to take on the likes of Amazon Alexa, Apple's Siri and the Google Assistant. Bixby is used across Samsung devices and works the same way Alexa, Siri etc.
However, while Samsung's intentions have been fair in trying to make a voice assistant that works across devices, but at the end of the day Samsung devices are Google devices and most people prefer using Google Assistant or Alexa thus the possibilities of wanting to disable Bixby is high.
So here's how you do it:
Samsung put Bixby in all phone starting from the Galaxy S8 including the mid-rangers. Most of these phones have a dedicated Bixby button that's near the volume buttons or have replaced the power button in some cases (one of the many reasons why people might want to remove Bixby).
Disabling Bixby has three main steps:
- You need to change the button behaviour
- Turn off voice activation
- And finally, remove the Bixby Home screen that appears when you swipe left from your main home screen (on newer versions of Samsung's software, that's now called Samsung Daily).
Currently, you can disable Bixby entirely only on the Galaxy Note 10 and the Galaxy S20 series.
How to Turn off Bixby on the Galaxy Note 10 and Galaxy S20
- Go to Settings > Advanced Features
- Turn off Bixby Routines
- Tap on Side Key
- Toggle Double Press off or change it to something other than ‘Open Bixby'
- Change Press and Hold to Power Off Menu
- Go to Settings and tap the magnifying glass in the upper right
- Type in Bixby and pick the entry that says App Info, Bixby Voice
- Tap the Settings gear in the upper right hand side to get to Bixby Voice settings
- Tap on Automatic Listening and change it to Never
- Tap on Voice Wake-Up and turn off Wake With Hi, Bixby
- Turn off Use While Phone Locked
- Turn off Bixby Dictation
- Tap on Bixby Key and change it to Double Press to Open Bixby
- Turn off Marketing Notification
- Go to your home screen and press and hold it to get the widget-configuration mode
- Swipe left and toggle off Samsung Daily
How to Turn off Bixby on the Galaxy S8/S9/S10 (with Android 9 or 10)
On older phones, you cannot entirely disable Bixby, but you can change it so the button requires a double press.
- Go to Settings and tap the magnifying glass at the upper right
- Type in Bixby and pick the entry that says "App Info, Bixby Voice
- Tap the Settings gear in the upper right hand side to get to Bixby Voice settings
- Tap on Automatic Listening and change it to Never
- Tap on Voice Wake-Up and turn off Wake With Hi, Bixby
- Turn off Use While Phone Locked
- Turn off Bixby Dictation
- Tap on Bixby Key and change it to Double Press to Open Bixby
- Turn off Marketing Notification
- Press and hold on your home screen
- Swipe left
- Toggle off Bixby Home (or Samsung Daily in newer software versions)
Catch all the Latest Tech News, Mobile News, Laptop News, Gaming news, Wearables News , How To News, also keep up with us on Whatsapp channel,Twitter, Facebook, Google News, and Instagram. For our latest videos, subscribe to our YouTube channel.


