This simple trick will make your PlayStation 4 a lot more zippy
Running out of hard drive space on your PS4, or ever felt that your PS4 loading times could be a tad faster. Fortunately, you can replace the mechanical hard drive that comes with the console with an SSD without voiding the warranty.
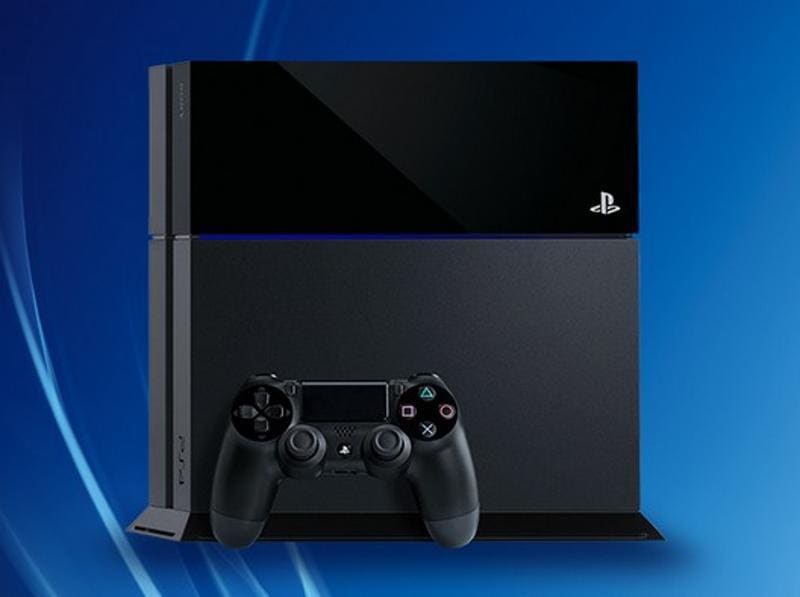
Ever felt that your PlayStation 4 could load games faster? Well, it can. All you need is an SSD. That's a solid-state drive if you don't keep up with this stuff. Unlike a standard hard drive that contains spinning disks, an SSD has no moving parts at all. This offers performance that's often many times faster than traditional drives resulting in significantly faster load times for games and applications.
Your PlayStation 4 comes with a standard hard drive, probably to keep costs down. The good news is, you can swap this for an SSD without voiding the warranty of your console. Replacing your original hard drive with an SSD can shave 5-8 seconds off boot time. That doesn't sound like a lot but if you're playing for hours, it adds up. Adding an SSD also lets you get more storage than the built-in 500 GB that comes with the console.
You may be interested in
-
 Obsidian
 - 12 GB RAM
- 128 GB Storage

- Asteroid Black
- 16 GB RAM
- 512 GB Storage
- Black
- 6 GB RAM
- 128 GB Storage

Ready to take the plunge? Here's how to do it.
• First off, you need a 2.5-inch SSD that's 9.5mm or slimmer and uses SATA specifications (most modern SSDs do). I recommend the Samsung 840 EVO 500 GB or Samsung's 850 EVO which comes in both 500 GB and 1 TB options. An SSD will set you back by at least ₹ 5,000, and buying drives with more storage can get expensive. For instance, the 1 TB variant of Samsung 850 Evo is priced around ₹25,000 ( the PS4 itself costs ₹ 34,990).
• Next step is to back up your PS4 data and your saved games. You can copy the data stored on your console to a USB storage device, while PlayStation Plus subscribers also get the option to upload their data to the cloud.
•Once you've backed up all your data, turn off your console completely and unplug the AC power cord along with other cables from the system.
•Gently slide open the HDD Bay cover (the shiny portion of the console) towards the left.

•Once the HDD Bay Cover is open, remove the screw and gently pull out the hard disk to remove it. Set it aside, ideally on a soft cloth to keep it safe in case you need it in the future.
•Use a screw driver and remove the four screws (see the diagram below). Make sure the rubber inserts are intact when you remove the screws.

•Put the new SSD on the mounting bracket of your console's hard disk and re-attach the four screws.

•The final step involves attaching the replaced HDD to the system by fully inserting the hard drive in its bay.
•Once you've put the replacement drive, you'll need to reinstall the system software. You can use the USB drive that you backed up your data on for doing a system restore by selecting [System] >[Back Up and Restore] in your console's settings. Then copy the saved data from the USB storage device to the PS4. To do so, connect the USB to the PS4, then select Settings via the function screen, select Application Saved Data Management>Saved Data on USB Storage Device > Copy to System Storage, select a title and then press X in the checkbox and then select Copy.
After you've properly went through all these steps and swapped the HDD with an SSD, your PS4 will feel a lot zippier and you'll have tons of space to download more content.
Catch all the Latest Tech News, Mobile News, Laptop News, Gaming news, Wearables News , How To News, also keep up with us on Whatsapp channel,Twitter, Facebook, Google News, and Instagram. For our latest videos, subscribe to our YouTube channel.